
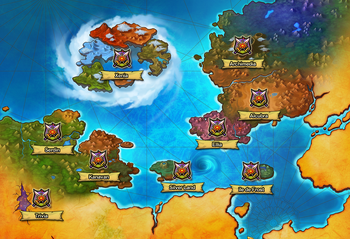
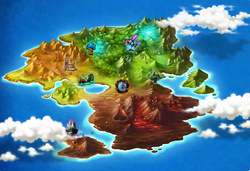
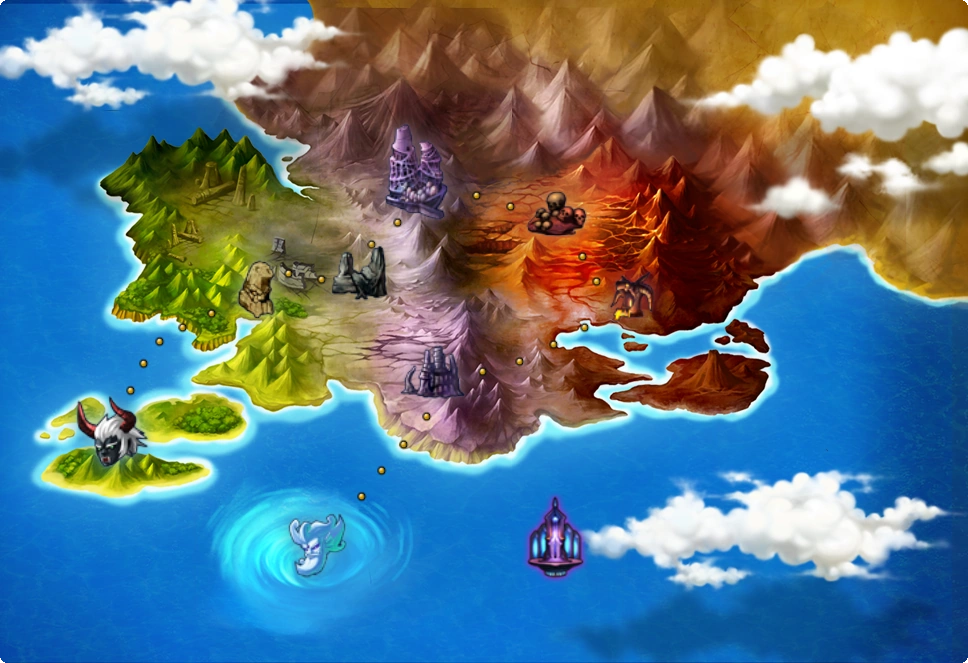
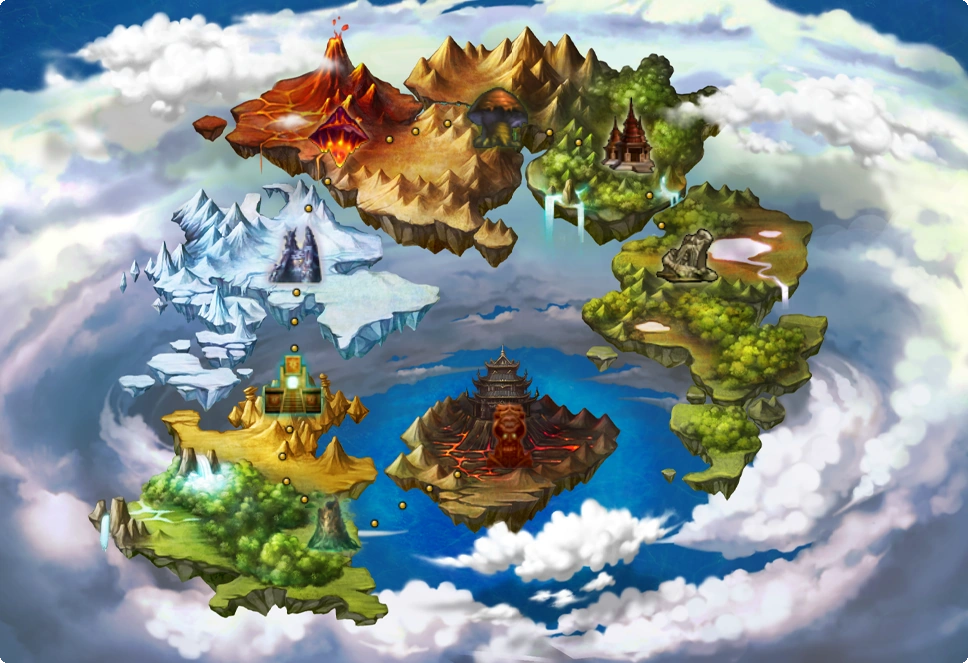
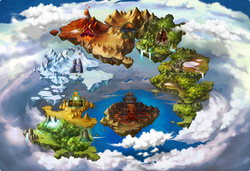
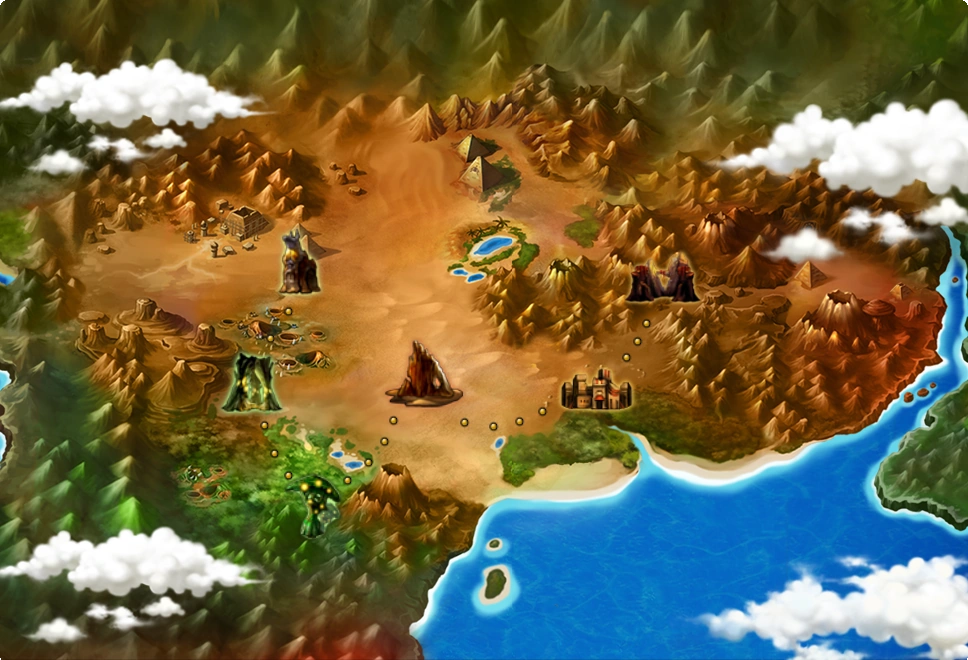
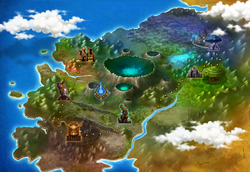
The map of the World
The dungeons of Grand Chase are each an adventure unto themselves. Each dungeon has four challenge ratings; one to three-star, and Champion Mode, with the exception of Trial Forest and Trial Tower, which have no Champion Mode. The one to three-star dungeons change the difficulty of the enemies that appear, the number of monsters that appear, and sometimes the size of the map.
The dungeons are spread across many continents according to their level range. Serdin and Kanavan (formely united into Bermesiah prior Season V) continents are the first two continents, and accompanies players level zero to twenty-seven, Silver Land is suitable for players twenty-four to forty-one, Ellia is suitable for players level thirty-eight to fifty-seven, Xenia is geared towards players level fifty-four to seventy, Alcubra is suitable for players of level seventy-one to seventy-eight, and Archimedia is suitable for players of level seventy-nine and up.
Dungeon Interface
Portal System
Each dungeon has a room system, called a Portal System.
Prior to Season 1, there were "doors" that had to be broken in order to proceed. However, that was changed in Season 2 to standard portals, via the ![]() . After doors were broken, characters would play their victory animations/voiceovers.
. After doors were broken, characters would play their victory animations/voiceovers.
Portals will only open when all monsters are eliminated on the map (excluding the summoned ones). Doing so, players can enter another area in the proximity.
Map
There are numerous aspects of the map.
 is the starting room.
![]() is a basic room.
is a basic room.
![]()
![]() means a horizontal and a vertical axis, meaning it is possible to go back and forth between the rooms.
means a horizontal and a vertical axis, meaning it is possible to go back and forth between the rooms.
![]()
![]()
![]()
![]() means that the path is "One-Way". It is impossible to go backwards past this point.
means that the path is "One-Way". It is impossible to go backwards past this point.
Lastly,  means Boss or Dungeon's End room.
When there are two or more players in a game, a party, the room the players move onto is based on the majority choice.
If there are more players in one portal than another, the portal with more players will be the portal used. Players in the other portals are warped through the portal with the most players as well, making it impossible to split up and do more than one map at a time.
When half the party or more is in a portal, a 5 second countdown begins before a direction is chosen.
Host-wise, whichever portal the host picks as long as he or she is not outnumbered, it will go that way. If the host is outnumbered, the portal chosen will go in favor of the members.
If the host, however, has not chosen and there is the same amount of players in each portal, then the direction the party goes in will be randomized.
Reward Screen
After completing or failing the dungeon, all players' scores will be determined on their use of combat and the number of rooms cleared.
At the end of each succesful dungeon run, players are able to open a Treasure Chest.
Champion Mode
- Main article: Champion Mode
Champion Mode is a special mode that allows one to simply fight even more powerful foes in a dungeon.
Platform Map
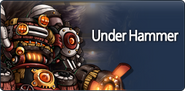
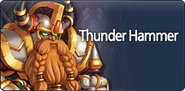
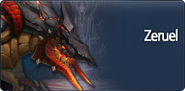
The Platform Map (often called Jump Quest as "Jump" relates to going on and over platforms, and "Quest" as slang for "Dungeon") consists of an entire room with numerous platforms, sometimes with some form of obstacle, and most of the time with an abyssal pit. It also contains no monsters (with the exception of Valstrath with a defeatable Cursed Cairn Stone, the Temple of Destruction with an unbeatable Ancient Giant, Under Hammer with Talin Elfbane, and Thunder Hammer with Thunder Hammer Riflemen). At least half of the players (2 players if only 3) must make it to the portal that is usually at the top or the other side of the room. If a player falls off a platform into the void below, he/she wll lose approximately 1/4 of his/her HP and spawn on the nearest platform. (with the exception of Zeruel, if a player falls at the purple orbs/shortcut zone, he will only lose 1000 HP and he will be teleported back to the start of the shortcut.)
The exception of the abyssal platform is in Marsh of Oblivion, Forsaken Barrows, and Forgotten City with a seemingly large void, Temple of Destruction with numerous platforms leading to the top using launch pads, Under Hammer which has conveyor belts leading to the other portal with Talin Elfbane below it, Thunder Hammer with offensive Thunder Hammer Riflemen.
Varying by Dungeon, the platform map usually consists of certain objects which can help or hinder the player's progress.
- Launchers: In Gorgos' Dungeon, Gaikoz's Castle, King Fang's Lair, Xenia Border, Temple of Cuatal, Altar of Judgment, Temple of Destruction, Zeruel Border, and Underpass of Lost Hope, there are blue pads that launch players to various altitudes, depending on the dungeon.
- Warp Pads: Similar to the blue portals in the dungeon, Warp Pads are teleporters for a certain area and are green. They appear in Gaikoz's Castle, Primeval Island, King Fang's Lair, Kastulle Ruins Lower Floor, Battle for Bermesiah, Hammer's Reach, Zeruel Border, and Kungji Village.
- Water Jets: In Kastulle Ruins Lower Floor, Battle for Bermesiah, Temple of Cuatal, Hammer's Reach,and Zeruel, numerous streams of water pop up from the abyssal areas which often elevate players. It is strange that characters can actually jump on the water jets, however.
- Flame Jets: Basically the fire version of Water Jets. Although they have elevation, they do cause damage. These are only found in Temple of Fire.
- Tridents: In Partusay's Sea, there are several tridents that act as barriers. They can be destroyed like other monsters. However, some characters and jobs can jump past the tridents or phase through them.
- Poisonous Cloud: In the Forgotten City, there are appearances of foggy areas that appear at a spot dealing Damage over Time effects which disappear and reappear every so often.
- Firebolts: In the Temple of Cuatal and Altar of Judgment, several Firebolts pop out of nowhere which act as an obstacle. They must be avoided or they may knock the player into the abyssal pit.
- Conveyor Belts: In Under Hammer, there are directional conveyor belts which push anything on top of it in a designated direction.
- Arrows: In Zeruel Border several arrows pop out of nowhere which act as an obstacle. They must be avoided or they may knock the player into the abyssal pit.
- Haste Orbs: In Zeruel several purple orbs will slow a player's movement while they are within it. A shortcut consists in jumping into the orbs, thus slowing a player's fall in order to reach the other side, but requires precise timing to maneuver.
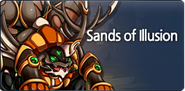
- Sand Younglings: In Sands of Illusion, Sand Younglings spawn in order to swarm the players.
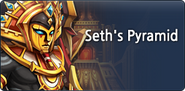
- Traps: In Seth's Pyramid, the player must avoid and get past eletric gears, arrows, pushing walls, falling rocks, and lastly a blue laser in order to proceed to the next room. If the player is in a Treasure of Osyris, he can just fly using its jet propulsors and reach the portal faster.
Buff Room
The Buff Room is a small room that contains a random buff for the entire party. However, a maze must be crossed in order to gain the buff.
These buffs are permanent, as they can travel through other rooms and still last through death.
The following buffs are granted:
- +10% Attack
- +15% Defense
- +20% Vitality
The only dungeons to possess a Buff Room is the Temple of Destruction on ![]()
![]() or higher, and Zeruel Border on any difficulty.
or higher, and Zeruel Border on any difficulty.
Note: When the buff in the Temple of Destruction has been activated, it says "You've activated a secret move. You can create earthquakes out of nowhere." However, this is likely a error and probably referring to the Ancient Giant; it has been researched that players cannot do this.
Bomb Room
The "Bomb Room" is a room that contains a dangerous explosive. At this time, monsters on the other side of the map will (slowly) try to reach the bomb. If reached, the bomb will cause the entire room to blow up, and every player will lose a life instantly. The monsters have to be defeated before they reach the other side.
The only dungeons that possess a Bomb Room are King Fang's Lair and the Fortress of Ascension.
Note: In the Fortress of Ascension, another monster will spawn after a certain time, regardless of whether or not the other monsters are all dead. It won't trigger the bomb but is fought regularly like other creatures.
Properties
With the exception of Trial Forest and Trial Tower, monsters may contain "properties" (aka power-ups) that may enhance themselves by three different ways. Properties are most often encountered on higher difficulties (with the exception of a boss), alongside with Champion Mode where every single monster (including the boss) will have all three.
When a property is encountered, there are some words above the monster's head, a slight visible aura, and the monster's name is in yellow rather than red.
List of Properties & Effects:
- Increased Attack: 2x Attack Power
- Increased Defense: 2x Defensive Power
- Arrow Defense: All frontal attacks using any Archer classes firing Arrows/Bolts are heavily reduced.
- HP Recovery: Like the name suggests, it will regenerate HP on its own at a base rate of the monster's HP. This property is known to appear less often on enemies & bosses.
- Shockwave: If the said opponent is not using any Fall Recovery attacks, it will produce a self-defensive wave that can push nearby opponents away, usually to the far side of the map.
- Curse: If struck by an attack, most of the player's own attacks will inflict damage onto themselves.
- Petrify: If struck by an attack, the player will suffer from petrification as they hit the ground. Tap the
 or repeatedly to reduce damage done.
 - Freeze: If struck by an attack, the player will undergo a frost effect. A Damage over Time effect is also applied, as the damage is dependent on how strong the monster is. Tap or repeatedly to break free.
- Fall Recovery (was named Recovery before but changed due to confusion): When the monster falls, it will quickly rise back up.
- Super Armor: Any monster will be immune to stuns, petrification, freezing, and knockdowns.
Note: Some monsters have an attack that may trigger this. Also, this effect completely nullifies Arrow Defense and certain properties designed for the monster.
Notes: Some monsters may have the property already enabled to them, such as the Fanatic Shield Soldier have Arrow Defense.
In Season 3, and earlier, bosses couldn't possess HP Recovery or Super Armor. If done so, the property was erased and they were left with one or two active properties. Bosses now can have Super Armor, and are always given 3 stats. With two of them usually are Increased Attack and Increased Defense.
Not all attacks may cause the status infliction, such as a Dark Mage's Poisonous Cloud.
Monsters will never stack Curse, Petrify, or Freeze simultaneously.
Obstacle Map
Certain dungeons have an "obstacle" that provides danger to the players. These effects are extremely harmful, and should be avoided as much as possible.
In Partusay's Sea and Lake Aurora, if the player is submerged in water, they will lose oxygen. Without oxygen, they cannot breathe and therefore, will start losing health rapidly. It is countered by gaining oxygen by using oxygen nodes, staying out of the water if possible, or by wearing an Oxygen Mask.
In the Altar of Judgment, players can obtain "Frostbite" from being on ground for too long. When afflicted, it will cause the player to being losing health rapidly. It is countered by jumping.
In the third room of Ra Canyon, there is a sandstorm that will insantly annihilate players if they get caught by it.
Warning Signs
Warning Signs are signs that appear when an opponent will do a specific or dangerous attack.
There are approximately 5 warnings:
- Jump: An enemy will do a said attack that affiliates with grounded players. There are currently two forms of these attacks.
- One is caused by said Treants, who creates vines that tangles feet.
- Another is caused by various opponents, whereas they emit an earthquake.
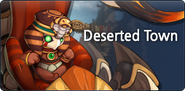
- DANGER: A "signature" attack that is used by powerful foes. The attack varies by monster. It is also warned by an announcer until reaching Temple of Cuatal, though the last time this would be used would be Deserted Town.
- BUSTER: A specific attack which uses something that has penetration abilities. Currently, only Mynos is the one who has "BUSTER".
- BERSERK: When enough arrows are fired upon Elesis or Sieghart, they create a powerful force-like wave that causes nearby opponents to bounce up, often catching their guard.
- TALIN marks an Easter Egg prior to hitting Talin Elfbane three times in Thunder Hammer. When done, the words flash and the player(s) gain an unlimited defense buff named "Talin's Curse", where unlike typical buffs, lasts even while the player dies.
- WARNING is a boss appearing message in Talin's Revenge.
Action Missions
- Main article: Action Mission
Action Missions are special missions that appear when running dungeons and involve to meet the quota of a certain criteria with the actions of the player in order to receive a reward and a timed buff for the character.
Action Missions appear in the dungeons of Île de Frost and Trivia so far.
Ranking System
The Ranking System shows how the player is performing on his or her dungeon run. At the beginning, the rank given to the player is C, yet he or she can increase it by hitting enemies. The rank increases according on how much damage is dealt to the enemy and how many enemies are slayed in a single combo. Such ranks range from F to SS. By pressing Tab, the player can see the other players' rank as well.
However, the player could decrease his or her rank if he or she remains idle in the dungeon or gets hit by an enemy. Notice that the letters have a bar: when its full, the rank will increase, and when it gets emptied, the rank will decrease.
The rank will NOT increase or decrease when the player is in a platform map or any other room that has no monsters to slay.
A higher rank means more experience awarded when the player clears the dungeon (B rank = +3% A rank = +6% ; S rank = +10% ; SS rank = +15%). After he or she cleared the dungeon, the rank is saved and displayed near the name of that dungeon.
In addition, the time spent in dungeon is recorded, and everytime the player manages to break his or her record, a message will appear near the time spent in the completion screen. This applies to the rank of the player inside the dungeon as well.
Lastly, on the obtained items window, there is a button on the bottom right that shows all the statistics of the player's performance in the dungeon.
Dungeon Types
Relay Dungeons
- Main article: Relay Dungeon

- : Level 0-75
Hero Dungeons
- Main article: Hero Dungeon
Event Dungeons
Event dungeons are dungeons that are available for certain periods of time for certain events. They may contain monsters and rewards unique to the dungeon. All event dungeons require a ticket of entry in order to access the dungeon.

- : Level 20-39
- : Level 40-59
- : Level 60-80 ▐ Crest: Infernal Carnival

- : Level 0-80
- : Level 0-80
- : Level 0-80
- : Level 0-80 ▐ Crest: Underworld Conductor
- : Level 0-80 ▐ Crest: Hungry Pets' Revolt: Feeding Frenzy!

- : Level 0-80
- : Level 0-80
- : Level 0-80 ▐ Crest: Moonlight Village's Secret

- : Level 0-85 ▐ Crest: N/A

- : Level 80-80
Boss Gate
A Boss Gate.
After defeating the boss of the dungeon, a Boss Gate will appear. The doors only appear in Champion Mode. Only Trial Forest and Trial Tower don't have these, for obvious reasons. Boss Gates originally appeared in events, but upon completion of Champion Mode results a gate appearing, granting the option of fighting the boss.
The Gate won't appear in Platform Maps nor Boss Areas, however.
Boss Gates are exactly textured and detailed the same as the Destruction Gates of the Sanctum of Destruction, except the Boss Gates are colored red.
This Gate acts as a doorway for a certain boss enemy to appear. These bosses do not have to be killed, but they drop Continent Boss Gate Chests which may offer Precious Pearls or Monster Cards of the respective continent or continent's monster.
The level of the bosses correspond to the dungeon they would normally come from. For example, three star Gorge of Oath has a level range of 20~23, while three star Gaikoz's Castle would be level 28~31. Since Gaikoz, the monster being summoned, would normally be level 31, he would appear as level 31 in a level 20~23 dungeon.
The monsters that are summoned to their corresponding dungeon are:
- Gaikoz is summoned in Bermesiah.
- Victor is summoned in Silver Land.
- Dark Anmon is summoned in Ellia.
- Ashtaroth is summoned in Xenia.
- Elder Kungji is summoned in Alcubra.
- Arawn is summoned in Archimedia.
Raid Dungeons
A special form of dungeons that allows up to six players as opposed to four. All party members must work cooperatively and effectively in order to take down the boss, who has several hundred life bars and deadly attacks.
Currently, there is only one Raid Dungeon: Berkas's Lair.

▐ Crest: Seize the Dragon Heart
Serdin
Click on the icons to view the dungeons.


- : Level 12-14
![]() : Level 15-17 ▐ Crest: Elf Guardian
: Level 15-17 ▐ Crest: Elf Guardian

- : Level 14-16
![]() : Level 17-19 ▐ Crest: Knight's Oath
: Level 17-19 ▐ Crest: Knight's Oath
- : Level 16-18
![]() : Level 19-21 ▐ Crest: Swamp Ranger
: Level 19-21 ▐ Crest: Swamp Ranger

- : Level 18-20
![]() : Level 21-23 ▐ Crest: King of Death
: Level 21-23 ▐ Crest: King of Death

- : Level 20-22
![]() : Level 23-25 ▐ Crest: Pioneer of Enlightenment
: Level 23-25 ▐ Crest: Pioneer of Enlightenment
- : Level 22-24
![]() : Level 25-27 ▐ Crest: Knighthood
: Level 25-27 ▐ Crest: Knighthood
Silver Land

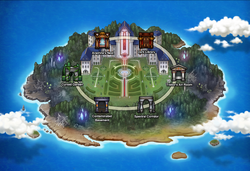
The Map of Silver Land

- : Level 24-26
- : Level 25-27
![]() : Level 27-29 ▐ Crest: Treant Master
: Level 27-29 ▐ Crest: Treant Master
- : Level 26-28
- : Level 27-29
![]() : Level 29-31 ▐ Crest: Silver Knights
: Level 29-31 ▐ Crest: Silver Knights
- : Level 28-30
- : Level 29-31
![]() : Level 31-33 ▐ Crest: Claw Shrimp Slayer
: Level 31-33 ▐ Crest: Claw Shrimp Slayer
- : Level 30-32
- : Level 31-33
![]() : Level 33-35 ▐ Crest: Crest of the Aquamarine Knight
: Level 33-35 ▐ Crest: Crest of the Aquamarine Knight

- : Level 32-34
- : Level 33-35
![]() : Level 35-37 ▐ Crest: Primeval Herbicide
: Level 35-37 ▐ Crest: Primeval Herbicide

- : Level 34-36
- : Level 35-37
![]() : Level 37-39 ▐ Crest: The Sagacious Ruler
: Level 37-39 ▐ Crest: The Sagacious Ruler

- : Level 36-38
- : Level 37-39
![]() : Level 39-41 ▐ Crest: Black Knights
: Level 39-41 ▐ Crest: Black Knights
▐ Crest: Hellstrom's Flames
Ellia

The Map of Ellia

- : Level 38-40
- : Level 39-41
- : Level 40-42
![]() : Level 41-43 ▐ Crest: Poseidon's Successor
: Level 41-43 ▐ Crest: Poseidon's Successor
- : Level 40-42
- : Level 41-43
- : Level 42-44
![]() : Level 43-45 ▐ Crest: Devil Hunter
: Level 43-45 ▐ Crest: Devil Hunter
- : Level 42-44
- : Level 43-45
- : Level 44-46
![]() : Level 45-47 ▐ Crest: Basilisk Slayer
: Level 45-47 ▐ Crest: Basilisk Slayer
- : Level 44-46
- : Level 45-47
- : Level 46-48
![]() : Level 47-49 ▐ Crest: Hell's Revelation
: Level 47-49 ▐ Crest: Hell's Revelation

- : Level 46-48
- : Level 47-49
- : Level 48-50
![]() : Level 49-51 ▐ Crest: Grand Chase
: Level 49-51 ▐ Crest: Grand Chase

- : Level 48-50
- : Level 49-51
- : Level 50-52
![]() : Level 51-53 ▐ Crest: Peryton's Successor
: Level 51-53 ▐ Crest: Peryton's Successor
- : Level 50-52
- : Level 51-53
- : Level 52-54
![]() : Level 53-55 ▐ Crest: Vanquisher of Kastulle Ruins
: Level 53-55 ▐ Crest: Vanquisher of Kastulle Ruins

- : Level 52-54
- : Level 53-55
- : Level 54-56
![]() : Level 55-57 ▐ Crest: Guardian Knight
: Level 55-57 ▐ Crest: Guardian Knight

▐ Crest: Soul Stealer
Xenia
The Map of Xenia

- : Level 54-56
- : Level 55-57
- : Level 56-58
![]() : Level 57-59 ▐ Crest: Frontier Legend
: Level 57-59 ▐ Crest: Frontier Legend

- : Level 56-58
- : Level 57-59
- : Level 58-60
![]() : Level 59-61 ▐ Crest: Nature's Messiah
: Level 59-61 ▐ Crest: Nature's Messiah
- : Level 58-60
- : Level 59-61
- : Level 60-62
![]() : Level 61-63 ▐ Crest: Mynos Slayer
: Level 61-63 ▐ Crest: Mynos Slayer
- : Level 60-62
- : Level 61-63
- : Level 62-64
![]() : Level 63-65 ▐ Crest: Keeper of the Flame
: Level 63-65 ▐ Crest: Keeper of the Flame
- : Level 60-62
- : Level 61-63
- : Level 62-64
![]() : Level 65-67 ▐ Crest: Warrior's Judgment
: Level 65-67 ▐ Crest: Warrior's Judgment
- : Level 62-64
- : Level 63-65
- : Level 64-66
![]() : Level 67-69 ▐ Crest: Fire and Brimstone
: Level 67-69 ▐ Crest: Fire and Brimstone
- : Level 64-66
- : Level 65-67
- : Level 66-68
![]() : Level 69-71 ▐ Crest: The Guardian of Life
: Level 69-71 ▐ Crest: The Guardian of Life
- : Level 68-70
- : Level 69-71
- : Level 70-72
![]() : Level 73-75 ▐ Crest: Ascendant of Heavens
: Level 73-75 ▐ Crest: Ascendant of Heavens
Alcubra

The Map of Alcubra

- : Level 70-72
- : Level 71-73
- : Level 72-74
![]() : Level 73-75 ▐ Crest: Desert Eagle
: Level 73-75 ▐ Crest: Desert Eagle
- : Level 72-74
- : Level 74-75
- : Level 73-76
![]() : Level 75-77 ▐ Crest: Spelunker
: Level 75-77 ▐ Crest: Spelunker
- : Level 74-76
- : Level 75-77
- : Level 76-78
![]() : Level 77-79 ▐ Crest: Kungji Kungji
: Level 77-79 ▐ Crest: Kungji Kungji
- : Level 76-78
- : Level 77-79
- : Level 78-80
![]() : Level 79-81 ▐ Crest: Illusion of Grandeur
: Level 79-81 ▐ Crest: Illusion of Grandeur
- : Level 78-80
- : Level 79-81
- : Level 80-82
![]() : Level 81-83 ▐ Crest: Scorpion King
: Level 81-83 ▐ Crest: Scorpion King

- : Level 80-82
- : Level 81-83
- : Level 82-84
![]() : Level 83-85 ▐ Crest: Desert Storm
: Level 83-85 ▐ Crest: Desert Storm
- : Level 82-84
- : Level 83-85
- : Level 84-86
![]() : Level 85-87 ▐ Crest: Horus' Blessing
: Level 85-87 ▐ Crest: Horus' Blessing
Archimedia

The Map of Archimedia

- : Level 70-72
- : Level 71-73
- : Level 72-74
![]() : Level 73-75 ▐ Crest: Sprocket Warrior
: Level 73-75 ▐ Crest: Sprocket Warrior
- : Level 72-74
- : Level 73-75
- : Level 74-76
![]() : Level 75-77 ▐ Crest: Explorer of Steampunk Worlds
: Level 75-77 ▐ Crest: Explorer of Steampunk Worlds
- : Level 74-76
- : Level 75-77
- : Level 76-78
![]() : Level 77-79 ▐ Crest: Dwarven Warrior
: Level 77-79 ▐ Crest: Dwarven Warrior

- : Level 76-78
- : Level 77-79
- : Level 78-80
![]() : Level 79-81 ▐ Crest: Gate Breaker
: Level 79-81 ▐ Crest: Gate Breaker

- : Level 78-80
- : Level 79-81
- : Level 80-82
![]() : Level 81-83 ▐ Crest: Frontier Chase
: Level 81-83 ▐ Crest: Frontier Chase
- : Level 80-82
- : Level 81-83
- : Level 82-84
![]() : Level 83-85 ▐ Crest: Elven Savior
: Level 83-85 ▐ Crest: Elven Savior
- : Level 82-84
- : Level 83-85
- : Level 84-86
![]() : Level 85-87 ▐ Crest: Kounatro's Return
: Level 85-87 ▐ Crest: Kounatro's Return
▐ Crest: N/A
île de Frost

The Map of île de Frost

- : Level 1
- : Level 2
- : Level 3
![]() : Level 4 ▐ Crest: Cursed Garden
: Level 4 ▐ Crest: Cursed Garden

- : Level 4
- : Level 5
- : Level 6
![]() : Level 7 ▐ Crest: Contaminated Basement
: Level 7 ▐ Crest: Contaminated Basement

- : Level 7
- : Level 8
- : Level 9
![]() : Level 10 ▐ Crest: Spectre's Corridor
: Level 10 ▐ Crest: Spectre's Corridor

- : Level 10
- : Level 11
- : Level 12
![]() : Level 13 ▐ Crest: Traitor's Art Room
: Level 13 ▐ Crest: Traitor's Art Room
- : Level 13
- : Level 14
- : Level 15
![]() : Level 16 ▐ Crest: Dark Library
: Level 16 ▐ Crest: Dark Library
- : Level 16
- : Level 17
- : Level 18
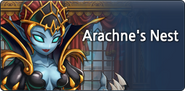
![]() : Level 19 ▐ Crest: Arachne's Nest
: Level 19 ▐ Crest: Arachne's Nest
Trivia
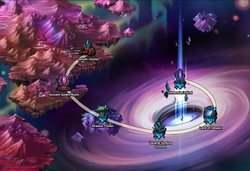
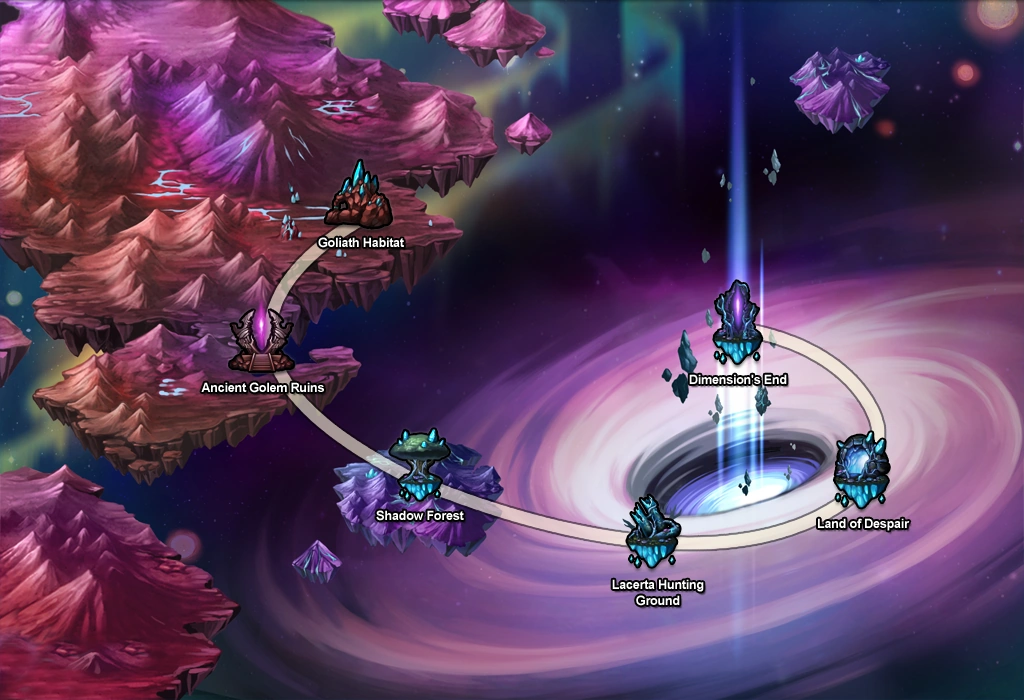
The Map of Trivia
- : Level 1
- : Level 2
- : Level 3
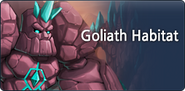
![]() : Level 4 ▐ Crest: Goliath Habitat
: Level 4 ▐ Crest: Goliath Habitat

- : Level 4
- : Level 5
- : Level 6
![]() : Level 7 ▐ Crest: Ancient Golem Ruins
: Level 7 ▐ Crest: Ancient Golem Ruins
- : Level 7
- : Level 8
- : Level 9
![]() : Level 10 ▐ Crest: Shadow Forest
: Level 10 ▐ Crest: Shadow Forest
- : Level 10
- : Level 11
- : Level 12
![]() : Level 13 ▐ Crest: Lacerta Hunting Ground
: Level 13 ▐ Crest: Lacerta Hunting Ground
- : Level 13
- : Level 14
- : Level 15
![]() : Level 16 ▐ Crest: Land of Despair
: Level 16 ▐ Crest: Land of Despair
- : Level 16
- : Level 17
- : Level 18
![]() : Level 19 ▐ Crest: Dimension's End
: Level 19 ▐ Crest: Dimension's End